One idea a week!
Tutorial – What Exactly Is Freezer Paper? (Part 2 of 2)
The easiest and most convenient way to create your own sewing patterns
 And here is the rest (and the end) of my little demo “What exactly is freezer paper?“Because it’s not just for easily cutting felt! It also makes a wonderful base for sewing patterns. It has all the advantages: it’s transparent enough that you can easily trace the patterns. It’s sturdy: I take good care of my patterns, so I’ll be able to use them many times! Used this way, in the traditional manner, it’s a much better alternative to all the other pattern papers I’ve used in my life!
But on top of that, it has “+” symbols!!!
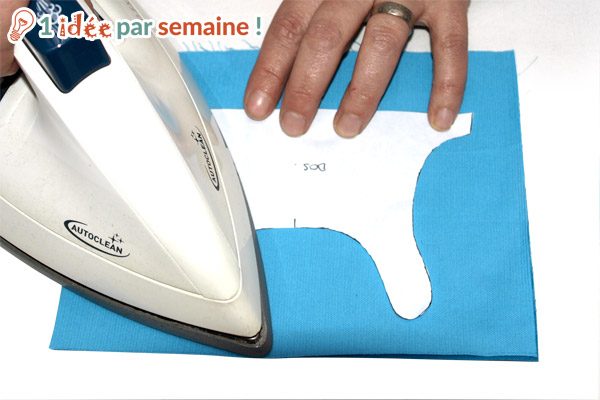
+ As we’ve already seen with felt, if I iron it onto the fabric, it “sticks” temporarily thanks to its thin layer of wax. This way, my pattern lies perfectly flat on the fabric—it doesn’t slip or wrinkle from the pins—and I can cut easily. It works great on any fabric that can be ironed. Of course, if you’re dreaming of a nylon nightgown like the ones that were all the rage in 1965, forget about the freezer… But for most fabrics, it’s great. If you’re unsure, test it on a scrap first. You can also use a thin cotton cloth, like a pressing cloth, to prevent the iron from touching the synthetic fabric. But it really depends on the situation.
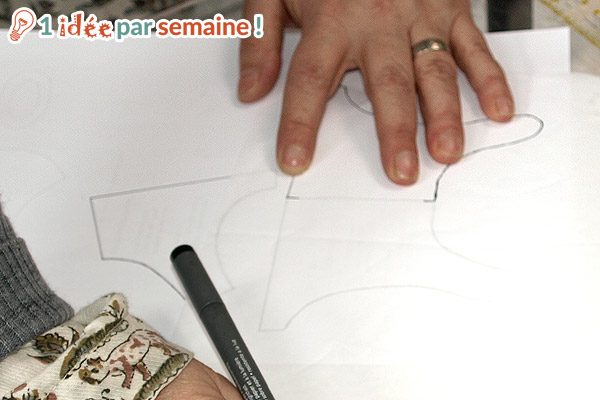
++ And get this: it can also save you the trouble of cutting out the pieces before sewing them. It’s not always possible, but when it is, it saves a tremendous amount of time and ensures greater precision—especially when sewing a lined panel. Here’s how I do it, particularly when sewing clothes for our little mouse, Hortense:
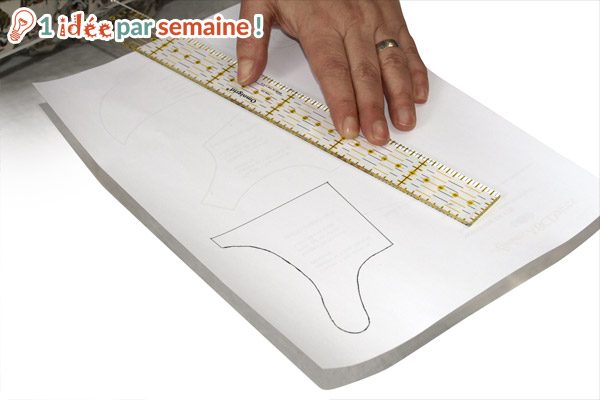
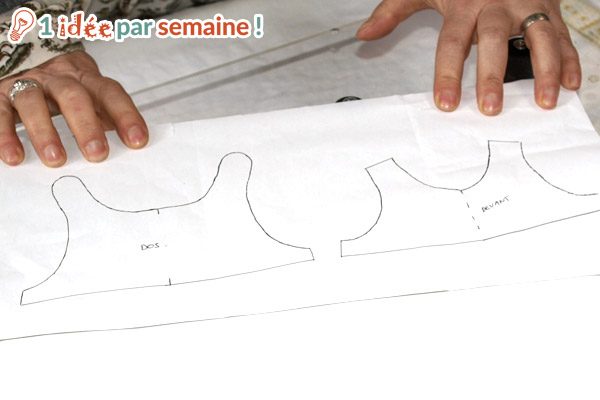
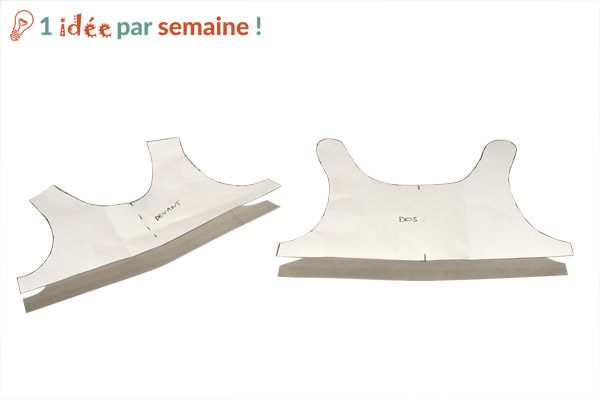
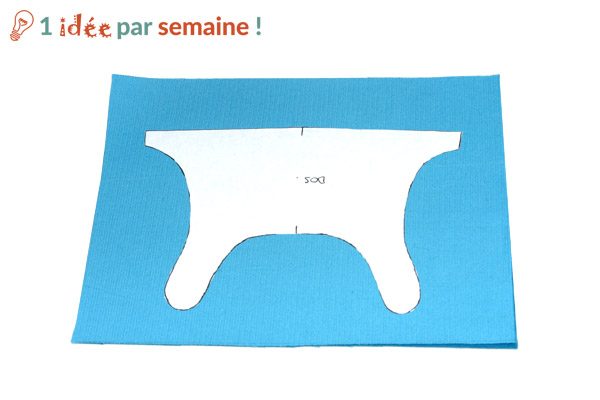
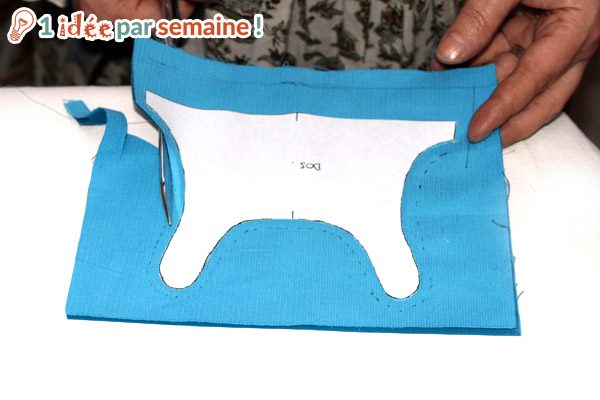
1 – I trace my patterns onto my freezer paper: since I’m going to sew around the pattern rather than cutting the fabric BEFORE sewing, I trace the entire shapes
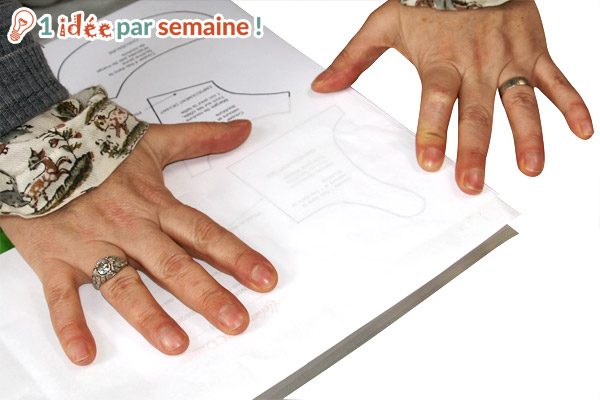
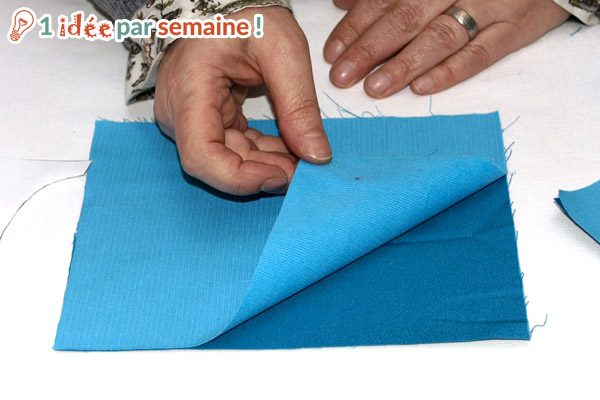
2 – I layer the fabric and the lining, right sides together, and trace my freezer paper pattern onto the wrong side of the fabric. If necessary, I secure the two pieces together with two or three pins. In this case, it wasn’t necessary—the pieces are small and made of cotton, so they don’t slip against each other.
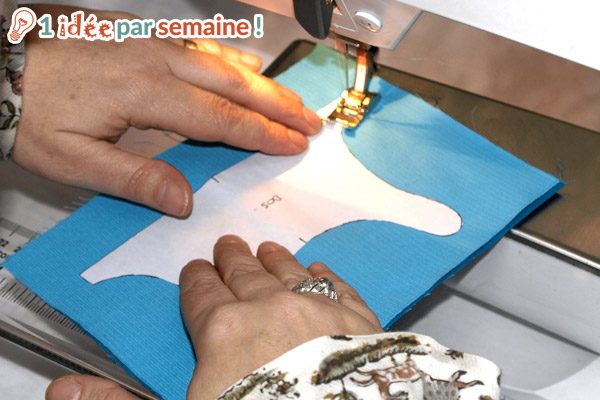
3 – I sew with small stitches, slowly, right along the edge of the paper: that’s where my seam line would be if I had traced the pattern onto the fabric.
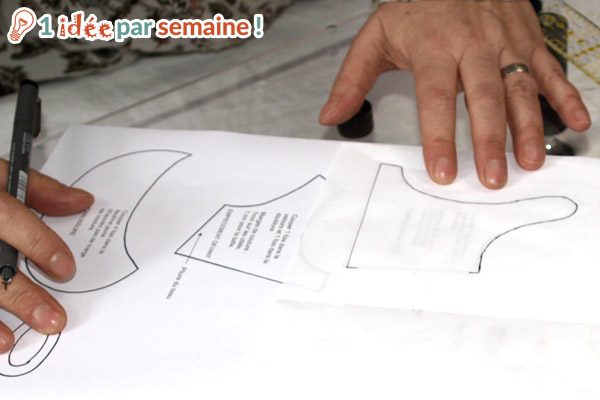
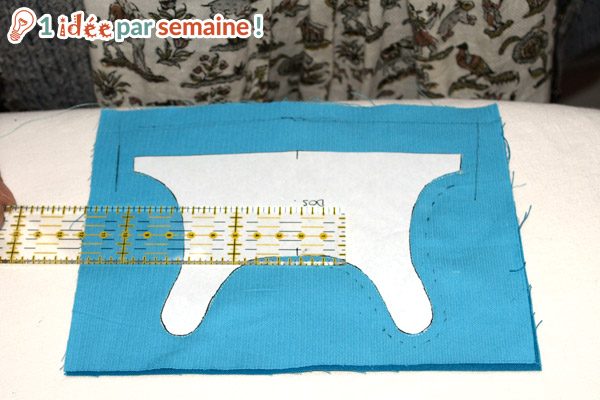
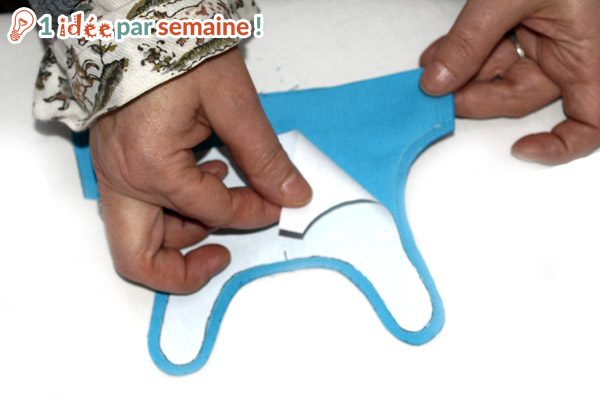
4 – Next, I cut all the way around the pattern, adding my seam allowance. There are two schools of thought here: cutting “by eye” or marking the lines. But let’s be careful! It’s always safer to mark the lines. Yes, it takes longer, and yes, sometimes it feels like it’s pointless—or at least not very useful—but in reality, it results in more precise work and is well worth the effort!
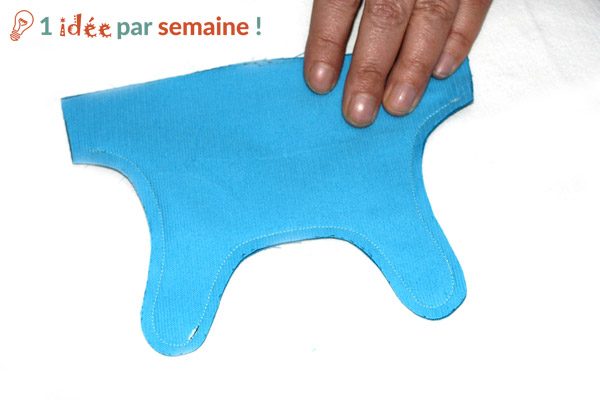
5 – Once the piece is cut, I carefully peel off the freezer paper. And there you go! The panel for Hortense’s future dress (here, the back) is perfect. Not too big, not too small, not warped, nothing!
I also use this method to sew little leggings or tights made of cotton jersey for babies. It’s great—nothing shifts out of place, and I can sew both legs in no time at all. For jersey fabric, it’s a real “PLUS.”
See you next week!
Bénédicte
What a wonderful technique! Thank you, Bénédicte, for the lovely meeting this morning at the fair and for your generosity! I can't wait to get back to my machine in Bergerac and sew a tablet sleeve using your Flora velvet!!! See you very soon
Julie la mouche
I also use it a lot for patches, like on doll clothes. It’s true that it’s very precise.